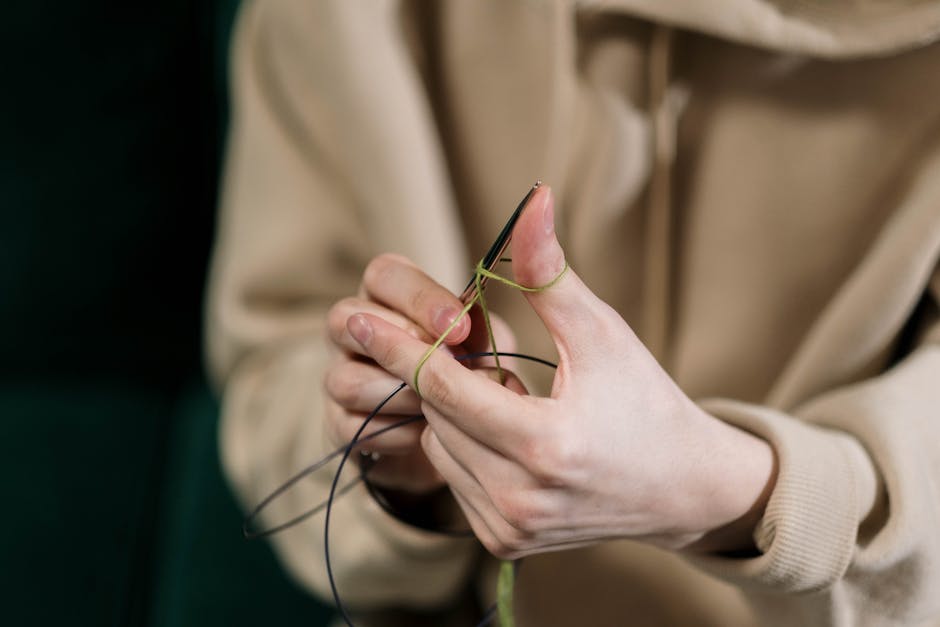
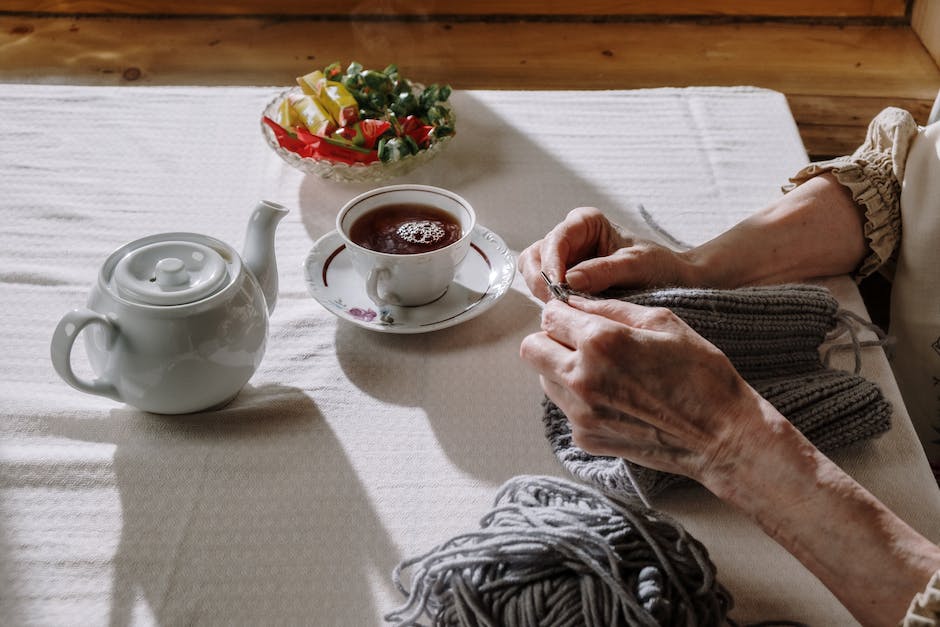
Knitting is a very relaxing, beautiful art. There are many ways to knitalong, so now is the time to learn how do do over in knitting!
Many people learn the basics at first, and then they can move on to more advanced techniques. This is a great way to familiarize yourself with the language of knitting and different techniques!
This article will go over some ways to do over in knitting, from simple purling and casting ons, to increases and decreases. These changes are important to know so that you can start adding texture to your projects!
Hopefully you will learn some new tricks in this article, but if you are already familiar with these changes, there are new things you can add!
There are many ways to learn new things in life. You don’t always have to be the smartest person out there, but you have to be willing to learn and take advice.
Know when to use a yarn over
When to use a yarn over depends on what you are working with. There are two main reasons to use a yarn over.
When you need more color in your project If you need less amount of color
Both tips are explained below!
The first time you use a yarn over, it’s best to be very careful. Some projects require less color and fewer rows as the knitter progresses. Other projects may require more color and more rows as the knitter progresses. The second time that knitter uses the yarn over, it can be more relaxed and some just don’t realize they have been using the same amount of material until they finish the project.
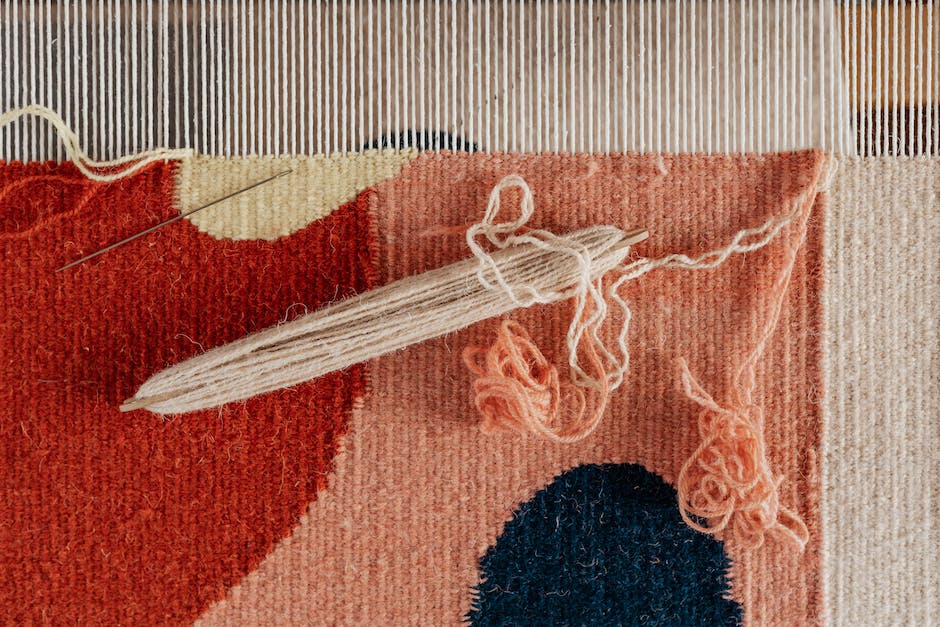
Practice making a yarn over
When you are finished knitting your project, let it rest a little bit to ensure the wool is sewn in and the project is secure. This can be done on a chair or couch or even on the floor if you have some room!
Then, carefully turn your work so that the front of your garment is now the back, and then pick up one end of the yarn and draw it through. This will create a hole in the bottom of your design where the new piece will sit.
Now, pull out the end of the yarn and tie it off at just one end. That is called leaving just one loop on the needle. Then, take another length of yarn and wrap it around the first loop from earlier and draw through to create a second hole in your design.
Knit next stitch then bring the needle behind the yarn to make the loop
When you have completed the project, place the yarn to the back of the needle, turn the row forward, and then return the yarn to the front of the needle and knit into that loop. This is called knitting next to previous stitch then having an intervening stitch to knit into.
This action creates a long tail of yarn that can be joined with a Kitchener-Leaf wool or other multiplexing fiber.
You can also do this when working in purl; just change from a left-to-right hand position to a right-to-left hand position as you pick up stitches.
This is useful when trying out different fiber types or projects because you do not have to repeat every single step!
These are also called back-and-forth knitting or reversing casting on and off.
Pull thru to make the new stitch
When you come to the end of the new stitch, your project will look something like this:
If you want to continue working on your project, you’ll have to start a new round of knitting. This is where the fun begins!
How do you know when to yarn over? The answer is every time! There are no rules for when to yarn over, only why and how to do it. There are many reasons to yoke over, some of them being reducing stretch out, creating a more secure foundation for your project, adding some flair to your work, and increasing the number of stitches on your needle.
Yarn over when you come to the end of the next stitch. This will give your new row/round a little extra stability. When you come to the end of the last row/round, turn up all four corners of your work and push down on top of each one with one hand and draw up the yarn with the other hand through both lips. This will make a soft fluffy ring around your piece with all its stitches on it. Then pull tight! This is called turning under or taking back some of what was cast on.
Repeat steps 4 and 5 until you have the desired number of stitches
Now, increase the number of stitches by doubling or tripling the number of on each row. This is called increasing the number of stitches in the right direction!
Do this by doubling or increasing the number of spaces between the existing stitches, or adding new stitches into your work. You will need to keep an eye on your gauge as some increases may be larger or smaller than a regular decrease.
Re-read your pattern and check your gauge again! If you have some missing pieces, increase one more time to make up for the space. If you have no pieces, repeat steps 4 and 5 until you have enough yarn!
Bullet point: Now that your project is complete, remove all tension from the yarn and let it relax for a few minutes to take advantage of these changes. This will help ensure your project looks beautiful as it takes care of any stretchiness.
Know when not to use a yarn over
When you use a yarn over, your project will look like this:. The top of your knitted piece will have a continuous line of yarn running over it.
This is not ideal! This is what happening when you use too much yarn. The extra material keeps coming back over the edge and invading your project.
Your looking real stupid, right?
The downside is that you will have to take your eyes off of your knitting to change the color, or remove it if you want to reveal the bottom of your piece.
Know when to use a provisional cast on instead of a regular cast on
When beginning a new project, be sure to use a provisional cast on. This is the easiest way to start a new project. You simply place the cast on edge of an piece of knitting, and then when you’re ready to add the next color, you pass the work through your hands and onto the needle.
A provisional cast on can be removed at any time while the project is being worked, as opposed to a regular cast on. When removing a provisional cast on, remember that you need to let it grow before putting in another loop of yarn.
Paradoxically, this is true even for self-cast Provisional Cast Ons! When using self-cast Provisional Cast Ons, remember that you need to let them grow before using another one. If you are working with multiple projects at once, keep in mind that each must have their own provisional cast on.
Compare it to crocheting a chain
When you compare knitted chains and crocheted chains, you’ll find a big difference in how they are created.
With the knitting process, you are using the different yarns to connect together. With the crochet process, you are using the same yarns to create your chain.
The reason for this is that when knitting, you do not have control over how long your stitches are or what type of stitches they are. With crochet, you can control this as well as use larger pieces of yarn and more complicated stitches.
When it comes to color choices and what type of decorations are allowed, both types of crafts allow different things.


